- Chilean Patagonia Trip Report
- 300 II or 200-400 with Internal Extender?
- Canon 70-200mm f/2.8L IS II USM lens
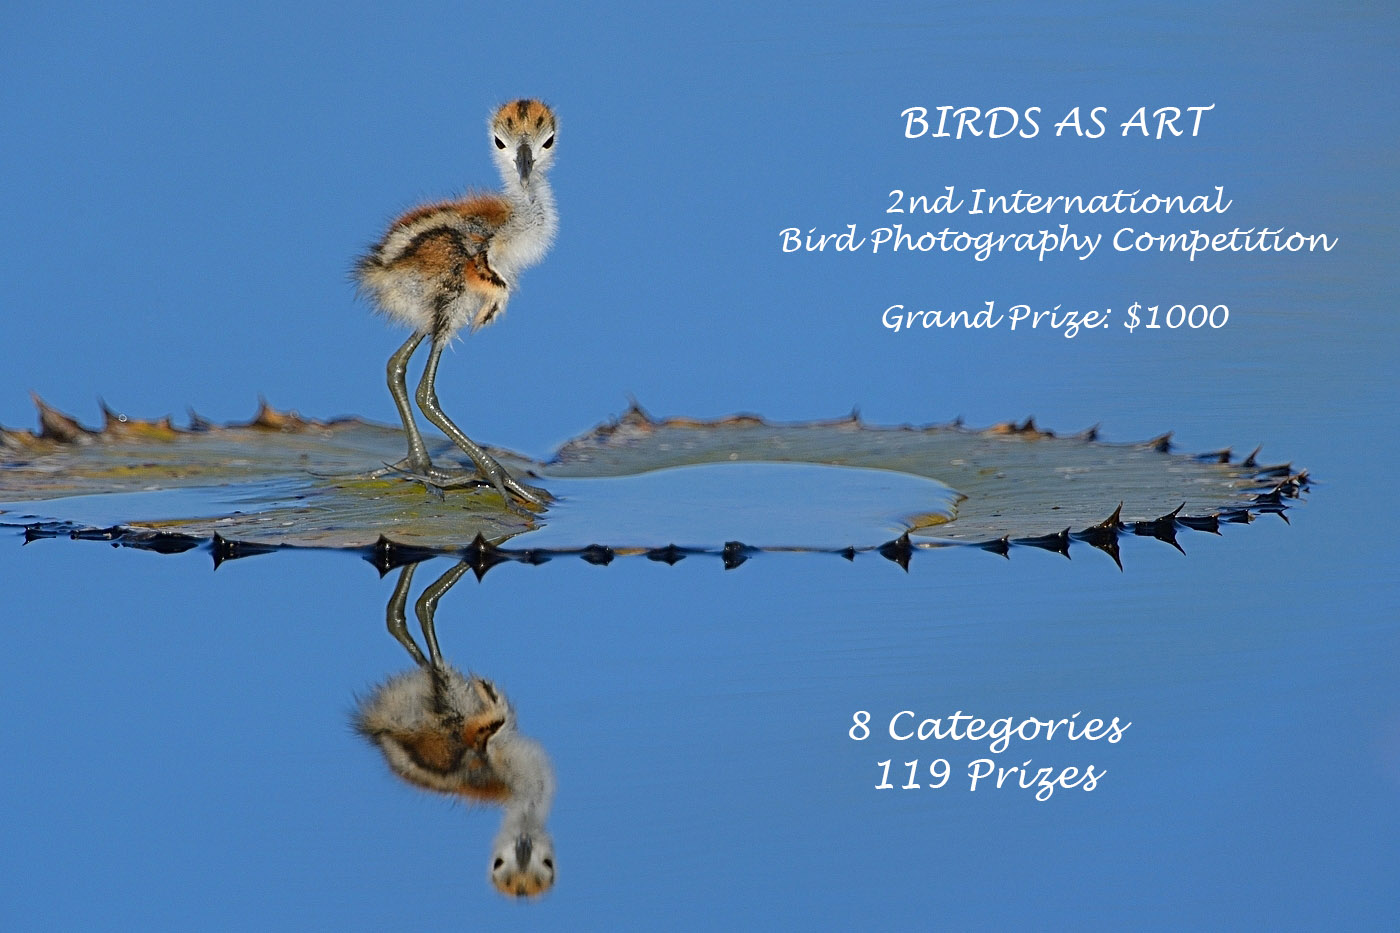
- BIRDS AS ART 2nd International Bird Photography Competition
- BAA Site Guide Kudos
- 2014 Tanzania Summer Safari
- Flight Plan
- Alan Murphy Guides
- Affiliate Links
- IPT INFO

|
|
This 3-frame in-camera Art Vivid HDR image of the Paine massif and its reflection was created at Torres del Paine National Park, Chile with the tripod-mounted Canon EF 16-35mm f/2.8L II USM Autofocus lens (at 18mm) and the Canon EOS 5D Mark III Digital camera body ISO 400. Evaluative metering +1/3 stop yielded a base exposure of: 1/80 sec. at f/22 in Av mode (+/- 2 stops). Central sensor/AI Servo Rear Focus AF 1/3 of the way into the frame and recompose. Click here if you missed the latest version of the Rear Focus Tutorial. Be sure to click on the image to enjoy a larger version. When the possibility of doing some serious land-scape or bird-scape work with a short lens exists, I make sure to have a Wimberley P-5 plate and my Giottos MH 1302-655 Ballhead in my vest. It takes less than two minutes to mount the plate on the camera body, spin off the Mongoose M3.6, and replace it with the tiny ballhead. |
Chilean Patagonia Trip Report
Denise Ippolito and I spoke at the Avistar Patagonia Bird Photography Festival two weeks ago. It was a superbly organized event that brought together a group of folks (many from Brazil and Argentina) interested in birds including avid photographers, avid birders, and others who enjoy the natural world. The cast of leaders and presenters was exceptional. They included renowned bird photographer David Tipling, Brazil’s top bird photographers Edson Endrigo and Octavio Campos, Photoshop and creative photographer Denise Ippolito, yours truly, and others. All of the programs were top notch and interesting and the field trips brought attendees to some great locations mostly in the spectacular Torres del Paine National Park, Chile. The field trips were a fine introduction to various sections of the park.
Like Wide Angle Landscapes?
Click here to see and learn more.

|
|
These copulating Silvery Grebes were photographed at a small pond in Torres del Paine National Park with the Gitzo 3532 LS carbon fiber tripod, the Mongoose M3.6 head, the Canon EF 600mm f/4L IS II USM lens, the Canon 2x EF Extender III (Teleconverter), and the Canon EOS-1D X. ISO 400. Evaluative metering +1 2/3 stops: 1/500 sec. at f/13 in Manual mode. Central sensor (by necessity) Expand/AI Servo Rear Focus AF on the side of the upper breast and re-compose. Click here if you missed the latest version of the Rear Focus Tutorial. Click on the image to see a larger version. Having missed a chance to photograph this beautiful species on my last trip to the Falkland Islands I was thrilled to spend four afternoons with them in Torres del Paine. |
Torres del Paine
We spent our second week with our skilled guides, Rodrigo Moraga and Cristina Trugeda; we all quickly became great friends. Rodrigo and Cristina shared their favorite animals, birds, and views of the park with us. While they are skilled puma trackers we opted to enjoy the great diversity of beauty in the park rather than get up at 3am every day for puma obsession. As many of their clients do. We stayed at EcoCamp Patagonia. The location was great with all of the bird photography hotspots easily accessible by car. Minutes before we arrived a puma had walked right through camp. The first morning that I peeked my head out of our dome I was greeted by the site of a tiny Austral Pygmy Owl perched on a rock in front of the next tent. Best advice: if you opt to stay at Eco Camp be sure to stay in either a Suite Dome or a Superior Dome. EcoCamp offers a great variety of tours and treks.
As the images here and in recent blog posts show, we had a great time in Chilean Patagonia.

|
|
This tight head portrait of a resting American Oystercatcher was photographed at James Bay, Puerto Egas, Santiago, Galapagos with the Gitzo 3532 LS carbon fiber tripod, the Mongoose M3.6 head, the Canon EF 200-400mm f/4L IS USM lens with Internal 1.4x Extender, the Canon 2x EF Extender III (Teleconverter), and the Canon EOS-1D X. ISO 400. Evaluative metering -2/3 stop: 1/50 sec. at f/11 in Av mode. As normal AF is impossible at f/11 accurate focus was achieved by auto-focusing in Live View using contrast on the sensor. Click on the image to see a larger version. |
300 II or 200-400 with Internal Extender?
If you can only own one, and you do not have a 500 or a 600, which is best for you?
Here is an e-mail exchange with Barry Ekstrand:
am: Hi Barry, Just got back from Chile.
be: Please forgive this unsolicited request for assistance advice!
am: Join the club :).
be: I sent a note to you at your samandmayasgrandpa@att.net address, but also see on the BAA website that you direct equipment questions to the verizon email address. As I’ve come up with another question I am re-sending with an updated set of questions below. Thanks in advance if you are able to help. To begin with, I read your blog post about using the stacked 1.4x III TC & 2.0x III TCs with an extension tube on the 600 f4L II lens with your 1DX, and finding that you could focus to infinity if you put the 2.0x on the lens and 1.4x on the body. You indicated that you were going to test it out with the 300mm f2.8L II as well. First question: am I understanding correctly that it focused to infinity and AF worked?
am: No. You can focus manually to infinity or, if there is enough contrast, you can focus using contrast off the sensor using many of the newer cameras.
be: I have a 5D Mark III and am looking to get my first ‘big’ lens (currently I have the old 400mm f5.6). I am trying to find a compromise in some flexibility in range of lens focal lengths (possibly via TCs), lens speed, and AF capability (tough to do but necessary as I’m only going to be able to get one lens for the forseeable future). I rented a 600mm f4L II and got wonderful photos but found it too big to hand hold for me. As a result, I have been interested in the 200mm-400mm f4L II lens with internal 1.4x TC with a 1.4x series III TC (your blog pics with that lens and external TC are great).
am: Agree :).
be: I know this lens is still heavy but shorter and I think that will help me; I may rent one just to be sure). I am also interested in the 300mm f2.8L II with series III TCs / extension tube.
am: Great lens with either TC. Super-sharp. And easily hand hold-able by most folks.
be: Second question: I want to ask, if you haven’t already tested these combinations, could you possibly try the stacked series III TCs with extension tube on the 300mm f2.8L II lens on your 5D Mark III body to see how the focus to infinity / AF works?
am: First off, that is not a combination that we would recommend for everyday photography. If it does indeed focus–theoretically, it should–AF would be slow at best and would require lots of contrast. Note however that I just sold my 300mm f/2.8L IS to a guy from Argentina. I will be getting another one before my Japan trip early next year and will try to remember to check things out and to let everyone know.
be: Although I am led to believe the 5D Mark III should autofocus (or not autofocus) the same as the 1DX, as you know nothing beats actual data on how it works.
am: AF is the same (to f/8) as long as you have a camera with the latest software. The 1D X offers a fast frame rate and more battery power to drive AF a bit faster (especially with TCs).
be: Third question–I posted this on BPN but the only response was to try emailing you): on the 200mm-400mm f4L II lens with internal 1.4x TC lens, is the resulting image sharper when using the external 1.4x TC III and internal 1.4x TC together, or when just using the 2.0x TC III without the internal TC?
am: I have never tried the 2-4 with the 2X other than once focusing with the internal TC in place (as in the oystercatcher image above). Sharpness was surprising. I doubt that you would be able to tell the difference between the two images.
File: American Oystercatcher tight close-up of head of sleeping bird _09U3664 James Bay, Puerto Egas, Santiago, Galapagos.tif
File size: 51.3MB
Camera Model: Canon EOS-1D X
Camera serial number: 082015001809
Date/Time: 2013:07:15 08:39:37
Shutter speed: 1/50 sec
Aperture: 11
Exposure compensation: -2/3
Flash: Off
ISO: 400
Lens: EF200-400mm f/4L IS USM EXT +2x III
Focal length: 1120mm
Image size: 5184 x 3456
Color space: AdobeRGB
Color profile: Adobe RGB (1998)
am: The 1/50 sec. shutter speed at f/11 at 1120mm reminds me that the skill of the operator is more important than the gear….
be: The reason for my question is, either way you would have the same 2x magnification (that is, I believe the 1.4x TCs are actually 1.414x, as in the square root of 2).
am: Pretty darned close actually.
be: I am guessing you would be passing the light through less glass if you used the 2.0x TC III without the internal TC, and as a result could potentially get a slightly better image.
I doubt it.
I also realize potential is not necessarily reality, and it all comes down to the precision of the magnification lens(es) in determining whether either approach is any better and if so, by how much. But I have not seen any photos with this lens and the 2.0x TC III posted, hence the question. Have you tried and compared by any chance?
am: No.
be: On the 200mm-400mm f4L II with internal 1.4x TC plus external 1.4x series III TC: have you had any AF issues at all with this combination on the 5D Mark III body? I just want to check in case I missed a post about it.
am: None.
be: If AF works well with these lenses with the TCs, I would have working ranges of either 300mm (at f2.8) – 840mm (at f8), or 200mm (at f4) – 784mm (at f8). Both of these ranges, if with sharp photos, would be a big gain in flexibility for me as compared to where I am today.
am: Your reasoning is off as you have neglected 1120 with the 2-4 with manual focus and you do not know if AF will work with 300 II and stacked TCs.
Finally, the last question, if you have tested these combos: how would you compare the image sharpness of these 2 different combos at each longest focal length (i.e., 840mm vs. 784mm).
I have not used the 300 2.8 II with stacked TCs…. And again, I would not recommend it for everyday shooting.
be: Artie, I truly don’t mean to impose on you, but I’m hoping you have the same desire as I do to understand how the 5D Mark III will fare in this testing with these lenses and TCs/extension tube, and since you have the hardware…… And of course, this information would be very helpful to me as I consider my options for the big purchase.
am: Again, the skill and sharpness techniques of the operator are much more important than the sharpness of the various rigs either practically or theoretically.
I thank you in advance for considering it.
Here is my simple analysis:
The 300 f/2.8 offers lower price, lighter weight, greater ease of travel, super sharpness with either the 1.4X or 2X III TC, and hand hold-ability that the 2-4 does not.
The 200-400 with internal TC offers much greater weight and size but with much greater versatility and longer effective focal lengths across the board (contrary to your reasoning above).
Again, without considering the unwieldy stacked TC combos the math is simple 300 X 2 = 600, 400 X 1.4 X 1.4 = 784mm. 784 is greater than 600. By the square of the focal length no less….
I am very much hoping that you have not made your purchase and that when you do, that you use one of our B&H affiliate links. We ask folks who enjoy the blog and send long e-mails with many questions to do so as a way of thanking us and a way of earning free contest entries.
Here they are:
Canon 300mm f/2/8 L IS II lens
Canon 200-400mm f/4 L IS lens with Internal TC
Please remember, web orders only. Please send me your B&H receipts to me via e-mail so that we can send you your free contest entries. And let me know if you need links for the Series III TCs.
later and love and sorry that I took so long to get back from Torres del Paine.
artie
|
|
|
This Torres del Paine image that was created with the hand held Canon EF 70-200mm f/2.8L IS II USM lens, the Canon 1.4x EF Extender III (Teleconverter) (at 155mm), and the Canon EOS 5D Mark III Digital camera body ISO 400. Evaluative metering +1/3 stop: 1/4000 sec. at f/7.1. Central sensor/AI Servo Rear Focus/Surround AF on the tip of the left hand tower and re-compose. Click here if you missed the latest version of the Rear Focus Tutorial. Be sure to click on the image to enjoy a larger version. See more 70-200 II imageshere. And if you do not own a 70-200 II see the great B&H deal immediately below. |

Insane Deal on One of My Very Favorite Lenses
This amazing offers expires soon!
Right now B&H is offering one of my very favorite lenses, the Canon EF 70-200mm f/2.8L IS II USM lens, at the ridiculously low price of only $1899.00 The regular price is $2499.00. They are offering a limited quantity as follows: after clicking on one of the BAA affiliate links here proceed to checkout to receive the $2199.00 price. Follow that up with the mail-in-rebate $300.00. When the smoke clears you will own this great lens for only $1899. The rebate is good only for US purchasers. The $1899 is the lowest ever price anywhere. Get one today and earn a free contest entry.
Note: the rebate is good only for US purchasers. If you missed this blog post, ” Scenic, Wildlife, & B-roll Versatility,” click here. It featured a variety of images created at Torres del Paine with my 70-200 II,
I have the 70-200II with me on every trip. I use it as above for scenics and habitat images. I use it to create bird scapes and images of groups of birds, for flight images of single birds with either TC and often with the 1.4X III TC for flocks in flight and for blast off blurs. It is a great travel and all purpose nature and wildlife lens. It is rare that I am in the field without having the 70-200 II on my shoulder via the Black Rapid S-7 strap.

|
BIRDS AS ART 2nd International Bird Photography Competition
Learn more and enter the BIRDS AS ART 2nd International Bird Photography Competition here. Twenty-five great prizes including the $1000 Grand Prize and intense competition. Bring your best.
BAA Site Guide Kudos
BAA Sites Guides are designed to save you time when visiting relatively new sites. Having a BAA Site Guide in hand or on your laptop while photographing at various locations is the next best thing to being on an IPT. I, or the author, share years of local knowledge with you: where to be and when, how the weather and especially the wind affects each location, what species you will get to photograph, and the best lenses and techniques to use.
Here are the currently available Site Guides: the super-popular right now Bosque Site Guide, the Antarctica Site Guide, the Merritt Island/Brevard County Site Guide, the Central Florida Site Guide, the San Diego Site Guide, the Ohio Site Guide, the ever-popular Southwest Florida Site Guide, the Fort DeSoto Site Guide, the Barrow, AK Site Guide, the Michigan Site Guide, the Barnegat Jetty Site Guide, the Ontario Landscapes Guide, the Nome, AK Site Guide, and the Morro Bay Site Guide.
Have some folks complained that Site Guides are priced too high? For sure. But your time is valuable and knowledge is power. Maximize your photographic productivity by getting yourself a BAA Site Guide for your next dream trip.
Here are a few recent Site Guide-ralated e-mails:
From Robert O’Brien:
Artie: Per your request, I wanted to follow up and give you some feedback on my Morro Bay trip and your very helpful site guide. My rating on the Site Guide is pretty simple — I give it a 5 thumbs-up. It was spot-on and extremely helpful, well worth the bucks. I studied it carefully before I left and included a lot of Google map and other online natural history study of the area as well before taking off.
By the time I arrived, I was well grooved in on the key spots and how to get there. The driving directions were real precise and easy to follow as well. Even the restaurant recommendations were very good (Bayside Cafe at the marina — extremely friendly and welcoming with a great menu; and Frankie and Lola’s near the Rock).
Also, the Elephant Seal rookery recommendation was a great reminder on the last page. I’d been by there 10 years ago w/my kids but likely would have overlooked returning had his tip not been included. It turned out to be a real trip highlight for my daughter and her boyfriend who both got some good shots of the pups and adolescents doing their thing.
I was at Morro Bay for 3 days, 3 nights, Oct 11-14.
Since I met my daughter from L.A. and her boyfriend there, I was somewhat limited with shooting time, though i did get to Estuary Point (a fabulous spot w/ NOBODY there) twice during receding and low tides (one mid-morning and a late morning to mid-afternoon). And 2-3 mornings and one evening at Strand Beach at the Rock.
Estuary Point
My favorite spot, by far. The heads up in the Guide on what to look for on the trail out to the point was great. I did spot some White-crowned Sparrows, though no Anna’s Hummingbirds on my way out the trail, mainly because i didn’t linger much there. That whole estuary area out there would be well worth several days (or weeks) worth of hanging out for some good photo opps, given the time. I believe I spent easily 4-5 hours out there on my 2 jaunts, and only left because of family and travel commitments. It was my kind of nature hang-out spot — really hard to leave. (I have the same sentiments about Fort DeSoto which I’ve visited many, many time over the years. That’ll be the next Site Guide I buy before my next trip back down there.)
Notes on the Mud at Estuary Point
I bought the NEOS Overshoes from your store as recommended, but did not need them after all. And I ventured out through the mud pretty adventurously at low tide on both days out there and found the mud pretty compacted — only sinking 1/4 to 1/2 inch at the most. Given your credibly dire warnings in the Guide I wondered how that could be. I guessed rainfall (ie., moving mud out into the estuary), then did my research after the fact and discovered, sure enough, I was there at the end of the driest season — summer through early fall (see attached map and annual area rainfall graph below). Looks like late winter through spring would be the wettest and muddiest in the estuaries. I can see now how from early to late spring during and after the heaviest rainfall, Los Osos and Chorro Creeks and others could really deposit lots of fresh mud out there. (I’d be curious how the seasonal rainfall trends affect the various life cycles out there at the estuary and perhaps affect the bird species variations. Would take a local to observe that.)
In any case, no regrets on the NEOS purchase. They weren’t expensive and have been stowed easily under the back seat of my SUV for future needs
Thanks so much for the great guide. Bob.
Notes: Bob kindly included a monthly rainfall map, a bird list, and a selection of images. You will not find “Estuary Point” on any map but mine as it is a name that I created (as I love to do). As for the mud there, I’m not sure if Bob was there on the lowest tides or not but his rainfall explanation seems to fit. If you are there in winter or spring beware the warnings in the guide….
From Michael Kuijl, The Netherlands
Hi Arthur,
I just received the Merritt Island Site Guide on CD. Reading through this, I can only say, great stuff. Also love the SW Florida Site Guide. I have only a limited limited time to travel through Florida this December so it’s great that you write these guides.
Hope to ever bump into you 🙂
Best Regards, Michael
2014 Tanzania Summer Safari
If you are interested in joining us in Tanzania next summer please shoot me an e-mail and I will be glad to forward you the PDF with dates, itinerary, and price.

|
|
This image of a young Andean Condor in flight was created with the Gitzo 3532 LS carbon fiber tripod, the Mongoose M3.6 head, the Canon EF 600mm f/4L IS II USM lens, the Canon 1.4x EF Extender III (Teleconverter), and the Canon EOS-1D X. ISO 3200. Evaluative metering +2 2/3 stops off the sky: 1/640 sec. at f/5.6 in Av mode. Central sensor Surround/AI Servo/Rear Focus AF on the bird’s face active at themoment of exposure. Click here to see the new version of the Rear Focus Tutorial. Click on the image to see a larger version. Note that when you push the histogram to the right that high ISO noise performance is maximized. |

|
Flight Plan
I can say without a doubt that after spending more than two months (part time) editing Jim Neiger’s great e-Guide, Flight Plan, that my flight photography has improved by leaps and bound whether I am working off a tripod or hand holding. His explanation of the bumping the focus technique finally sunk in. Learning to use this technique regularly is a huge help for any all types of flight photography.
You can learn more about Flight Plan here or order a copy by clicking here.

|
|
This male Striped Woodpecker image was created at Torres del Paine National Park, Chile, with the Gitzo 3532 LS carbon fiber tripod, the Mongoose M3.6 head, the Canon EF 600mm f/4L IS II USM lens, the Canon 2x EF Extender III (Teleconverter), and the Canon EOS-1D X. ISO 800. Evaluative metering +1 1/3 stops: 1/400 sec. at f/10 in Av mode. Central sensor (by necessity) Expand/AI Servo Rear Focus AF on the bird’s belly active at the moment of exposure. Click here to see the latest version of the Rear Focus Tutorial. Click on the image to see a larger version.
|
Alan Murphy Guides
The image above was created using a variety of techniques from Alan Murphy’s second e-Guide which details the proper use of audio playback. In his first guide, Guide to Songbird Set-Up Photography (106 pages), he taught the world to create killer images at backyard set-ups. In his second e-Guide, “The Photographer’s Guide to Attracting Birds,” Alan expanded upon topics covered in the fist guide and added new methods and techniques as well. As I proofread this new e-Book for readability, I was amazed not only by the images, but by Alan’s innovative and creative techniques. Heck, in many cases, I was stunned by his cleverness. To learn more about the creation of Alan’s 2nd great eBook, click here. This great e-Guide is available by download for $50. Click on the link below to get your copy. (PayPal payments are accepted.)

Note: those who would like to purchase both books via download can click on the link immediately above and save $10 on the combo.
Support the BAA Blog. Support the BAA Bulletins: Shop B&H here!
We want and need to keep providing you with the latest free information, photography and Photoshop lessons, and all manner of related information. Show your appreciation by making your purchases immediately after clicking on any of our B&H or Amazon Affiliate links in this blog post. Remember, B&H ain’t just photography!


Amazon
Everyone buys something from Amazon, be it a big lens or deodorant. Support the blog by starting your search by starting your search by clicking on the logo-link below. No purchase is too small to be appreciated; they all add up. Why make it a habit? Because I make it a habit of bringing you new images and information on an almost daily basis.
Typos
In all Bulletins, feel free to e-mail or leave a comment regarding any typos, wrong words, misspellings, omissions, or grammatical errors. Just be right. 🙂
IPT Info
Many of our great trips are filling up. See especially the late registration details for the Bosque IPT Two great leaders ensure that you will not learn more anywhere about how to make great images.


Awesome silvery grebes!
Hey Marc. You remembered! I have a zillion more great ones :). I will be posting at least a few more. artie
Thanks as always, Artie. Having used (your) 300 f/2.8L with (your) 2X TC on my 7D, I can vouch for the sharpness of the combo, which frankly surprised me. It was much sharper in my hands and on my camera than a 100-400 f/4.5-5.6L was, and probably sharper than a 400 f/5.6L. AF speed and accuracy seemed fine as well. But after using the lens/TC combo for a day and a half, my back hurt. That’s a long time, I know, to hand-hold a lens, but the 300 f/2.8L is quite heavy. Nonetheless, for short periods it’s quite feasible to handhold.
You back would have hut a lot more hand holding the 200-400 🙂 And if you sit and use the human knee pod it is a lot easier :).
Hello Artie
How good does the Kenko 2 X ( pro 300 ) tele-converter do compaired to the Canon 2x III
I would like using the Kenko because it will have all of the 61 points active with the
EOS 1 Dx while the Canon only has the center & the 5 points , I am using my 500 F4.0
( old version ) can’t afford the new version II yet .
Gary S Meredith
Tests by Patrick Sparkman showed that the sharpness is unacceptable with any of the Kenko 2Xs….Really bad. If you decide to go for a Canon 2X III TC please use this link:
http://www.bhphotovideo.com/c/product/732111-USA/Canon_4410B002_2x_EF_Extender_III.html/BI/6633/KBID/7226/kw/CA2XEF3/DFF/d10-v2-t1-xCA2XEF3
thanks, artie
ps: check out the sharpness that I get with the 2X III TC and the 600. You can easily learn to deal with central sensor Expand.
New topic. Lowe Pro Road Runner vs. Think Tank Airport Security 2.0. Blog/Bulletin searches reveal comments involving watch caps in Road Runner and neoprene pouches/bags in Think Tank. Is there a real difference?
Hi Joel, I have not used the old Road Runner for many, many years. Presently I use a combination of watch caps and LensCoat products to protect my gear in the two Think Tank bags. Many folks prefer the LensCoat BodyBags, TravelCoats, hoodies, LensBags and pouches, etc. Al but my shorter intermediate zoom telephoto lenses have Hardwood Snow Lens Coats on them and all of my tripods have LensCoat tripod covers. Folks can learn about all the great LensCoat products here.